Your first tunnel in 5 minutes
By the end of this guide you will reach a service — a web admin panel, an SSH daemon, a database — running on a remote machine, straight from your own computer. No inbound ports, no port forwarding, no VPN. The remote machine only needs ordinary outbound internet access.
Two agents, two roles
A tunnel always joins two LRO agents, and it matters which role each one plays:
- Client — runs on the machine that hosts the service (the “remote network”). It connects out to the target service on your behalf. The endpoint (the target address) is defined on the client.
- Support — runs on the machine you sit at (the “tech specialist”). It opens a local listener; you connect to
localhost:<port>on this machine and the traffic is carried to the service.
-
Create your account
Open app.lro.link/signup. Use Create account with your email, or By invite if a teammate sent you a code. Accept the Terms and sign in.
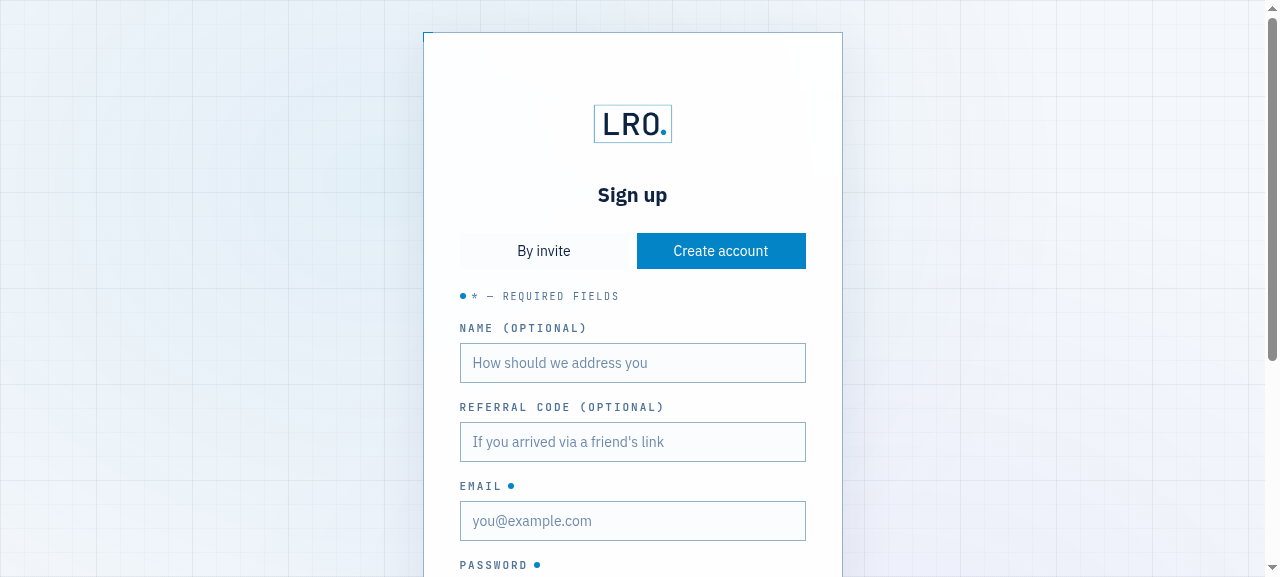
Fig 1. The sign-up form — e-mail, password and an optional referral code. -
Install the agent on both machines
On Linux or macOS, run the one-liner on each machine — the remote one that hosts the service, and the computer you will connect from:
$ curl -fsSL https://lro.link/install.sh | shAn interactive menu opens. Pick
1) Install / update binary. (For Windows or an offline install, download the archive for your platform from the dashboard’s Download agent panel instead.)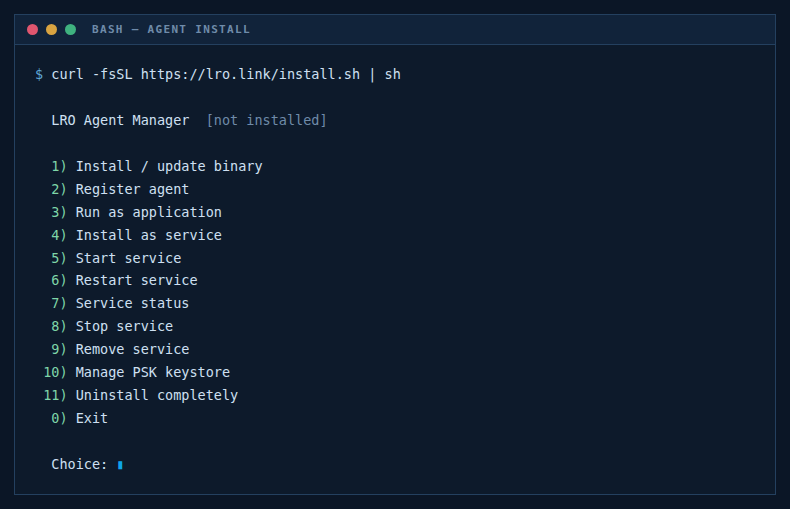
Fig 2. The installer menu. The same menu registers the agent and installs it as a service. -
Register the client and the support agent
In the panel go to Agents and click Register. Name the agent and pick its mode:
- On the remote machine that hosts the service, choose Client (remote network).
- On your own computer, choose Support (tech specialist).
(Dual is also available when one machine needs to play both roles.)
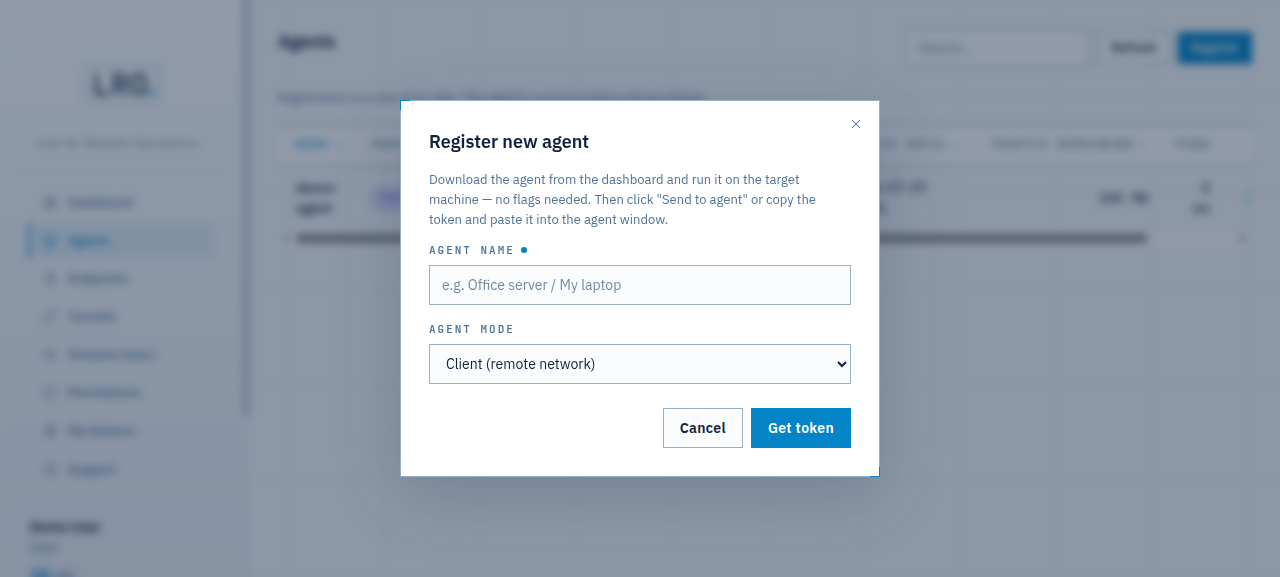
Fig 3. Register new agent — name it and choose Client, Support or Dual. Click Get token. The panel shows a short registration token and waits for the agent to come online.
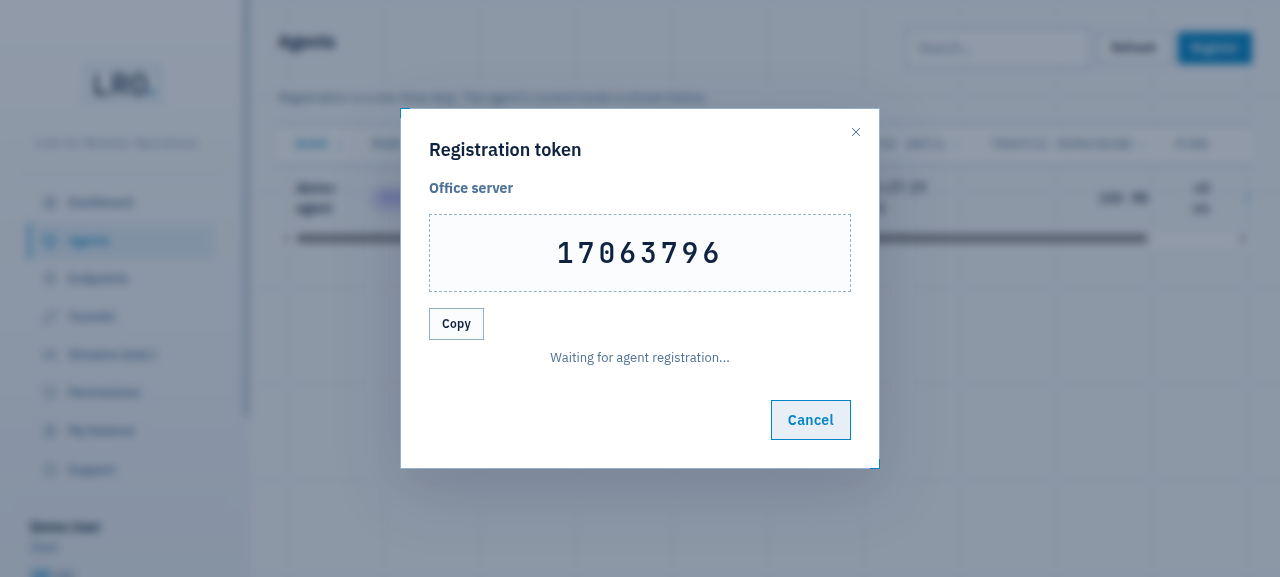
Fig 4. A one-time registration token. The panel waits for the agent to check in. On the machine, paste the token into the installer menu —
2) Register agent— or from the command line:$ lro -t <your-token>If you run the desktop app instead of the console agent, paste the token into Settings → Registration and click Register:
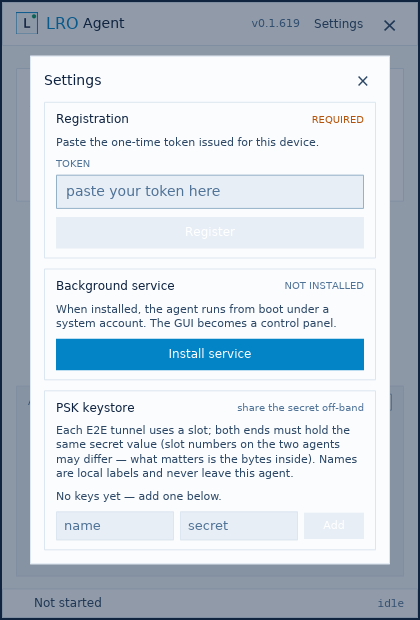
Fig 5. The desktop agent — paste the same token under Settings → Registration. Do this on both machines with their own tokens. Both then appear in Agents as Connected, one in Client mode and one in Support mode.
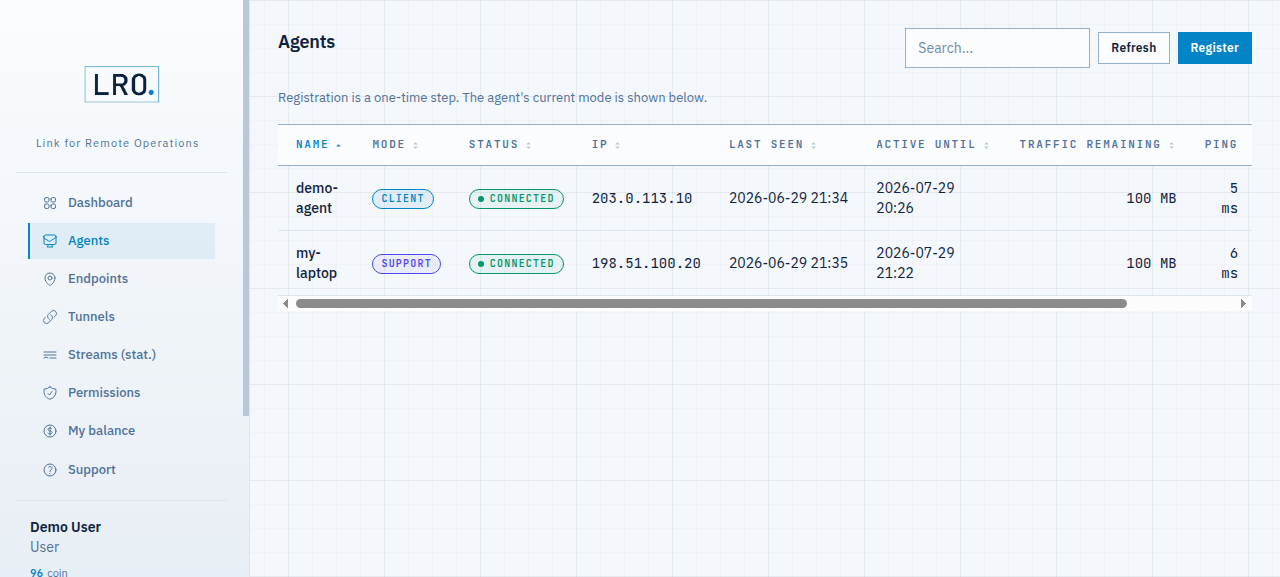
Fig 6. Both agents online — the service host in Client mode, your computer in Support mode. -
Subscribe the client agent
The client agent — the side that opens tunnels and is billed for traffic — needs an active subscription; a brand-new agent shows No subscription and cannot open tunnels until it has one. Top up your balance under My balance, open the client agent, go to its Billing tab, choose Subscribe to plan, pick a plan and confirm the charge. The support agent does not need its own subscription.
A subscription keeps the client agent active and includes a small traffic bucket. Traffic beyond the bucket is billed by the byte (about 0.1 coin per GB). Interactive SSH or a web panel is effectively free; only large transfers move the needle. -
Describe the service as an endpoint — on the Client
Go to Endpoints → Create endpoint. Choose the client agent (the remote machine), give it a name, and set the target and port — the address the service listens on as seen from that machine (for a service on the same box, that is usually
127.0.0.1).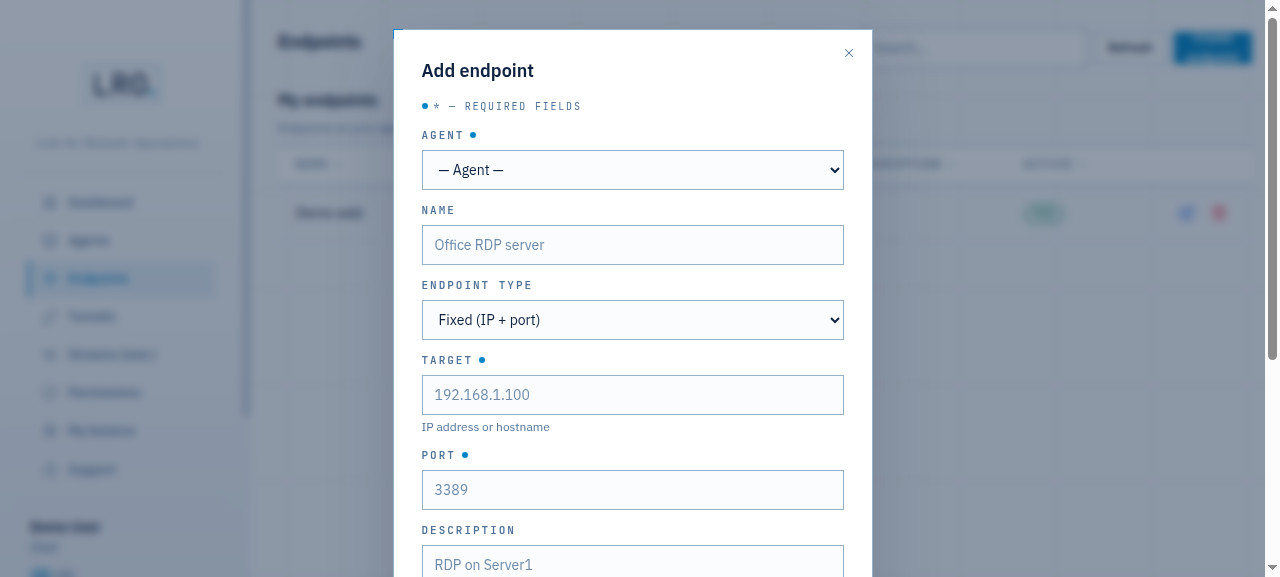
Fig 7. The endpoint is “which service, on which client agent” — here a web app on 127.0.0.1:8000. -
Open the tunnel and connect
Go to Tunnels → Add tunnel. Pick the support agent (your computer — the side that opens the local listener), then the endpoint from the previous step, and a listen port. Click Create; the tunnel goes Active once both sides finish their key exchange.
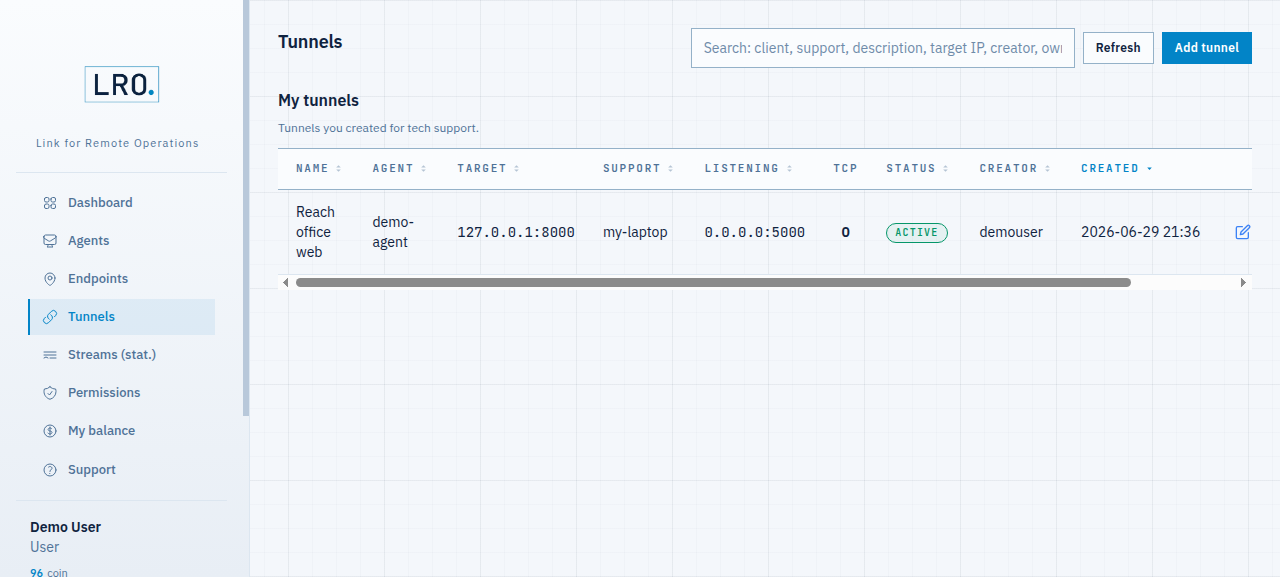
Fig 8. An active tunnel — Agent is the client (with the target), Support is your machine, Listening is the local port it opens. Now point your tool at the listen address on the support machine (your computer). If the endpoint was a web app and the listen port was 5000:
$ curl http://127.0.0.1:5000/For SSH it would be
ssh user@127.0.0.1 -p 5000, for a database your usual client pointed at127.0.0.1:5000, and so on — the tunnel is a raw TCP pipe and never inspects the protocol on top. Every stream shows up live under Streams, with the client and support agents and the bytes moved.
Fig 9. Live streams — each one names the client and support agent, the destination service and the traffic, updated in real time.
That is a complete tunnel: an encrypted path from your computer to a service on a remote machine, with nothing exposed to the public internet. Close it any time from the Tunnels page; the agents stay connected and ready for the next one.
Ready to open yours?
Create an account →