Permissions and access control for a team
When more than one person needs access, you do not hand out a shared login. You turn your account into an organization, add teammates, and grant each one access to the specific endpoints they need — nothing more. Who can see and reach what is decided on the server, so a teammate cannot reach a machine they were not granted, even with a hand-crafted request.
-
Turn your account into an organization
In the panel header, click Corporate account, give the organization a name and confirm. Your account becomes the organization’s first admin; your existing agents and endpoints come with it, now shared and managed at the org level.
An org-admin manages members, agents, endpoints and every permission. A regular member only gets what they are granted. Every action is written to an org-scoped, append-only Audit log with the acting user and IP. -
Add teammates
Go to Users and click Add. Give the teammate a username, a password and (optionally) a display name and e-mail. Leave Administrator unchecked for a regular member.
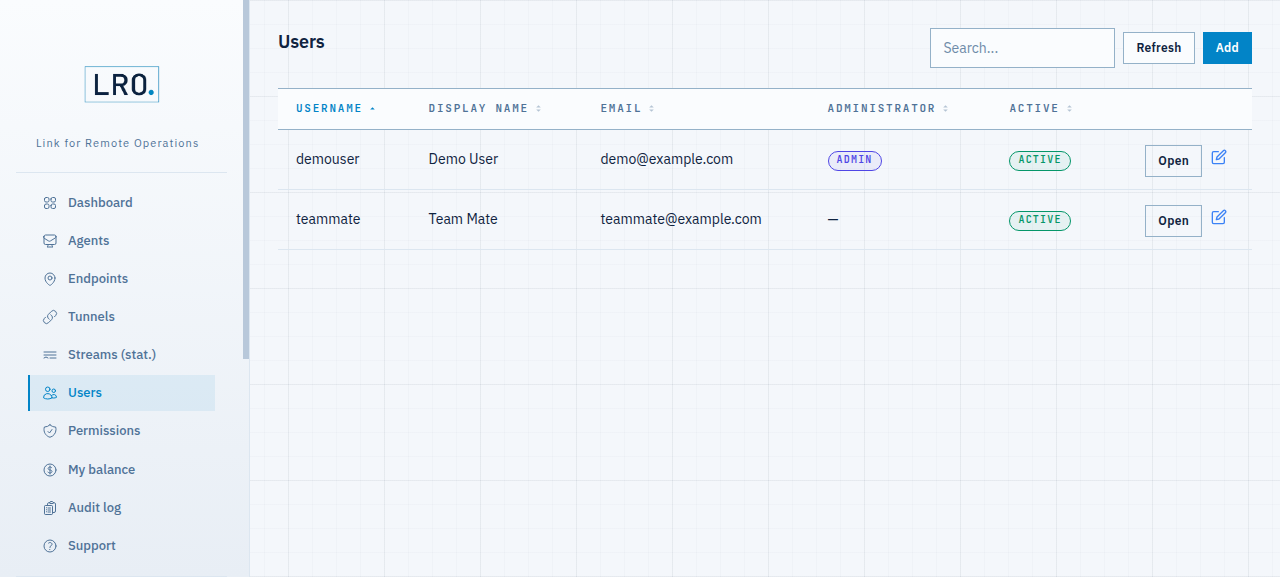
Fig 1. Organization members — one admin and one regular member. -
Grant per-endpoint access
Open Permissions → Grant access. Pick the endpoint to share, paste the teammate’s User ID (they copy it with the Copy ID button in their panel), optionally set an expiry, and grant. Each grant is one endpoint for one user.
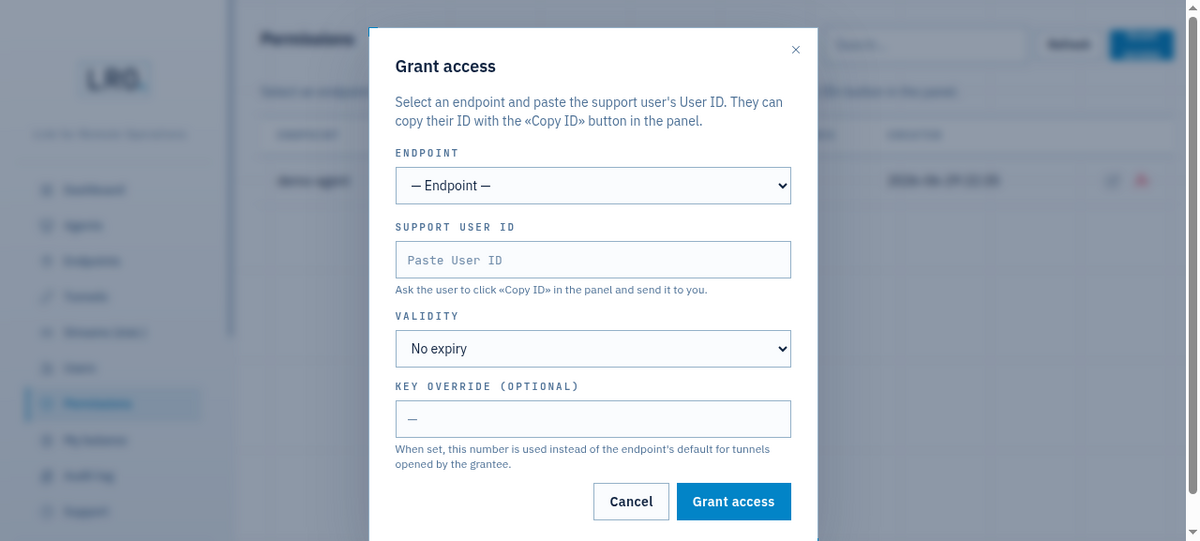
Fig 2. A grant is endpoint + user, with an optional expiry (1 hour to 30 days, or a date). The permission shows up as Active. Revoke it any time with Deactivate, or set an expiry so it lapses on its own.
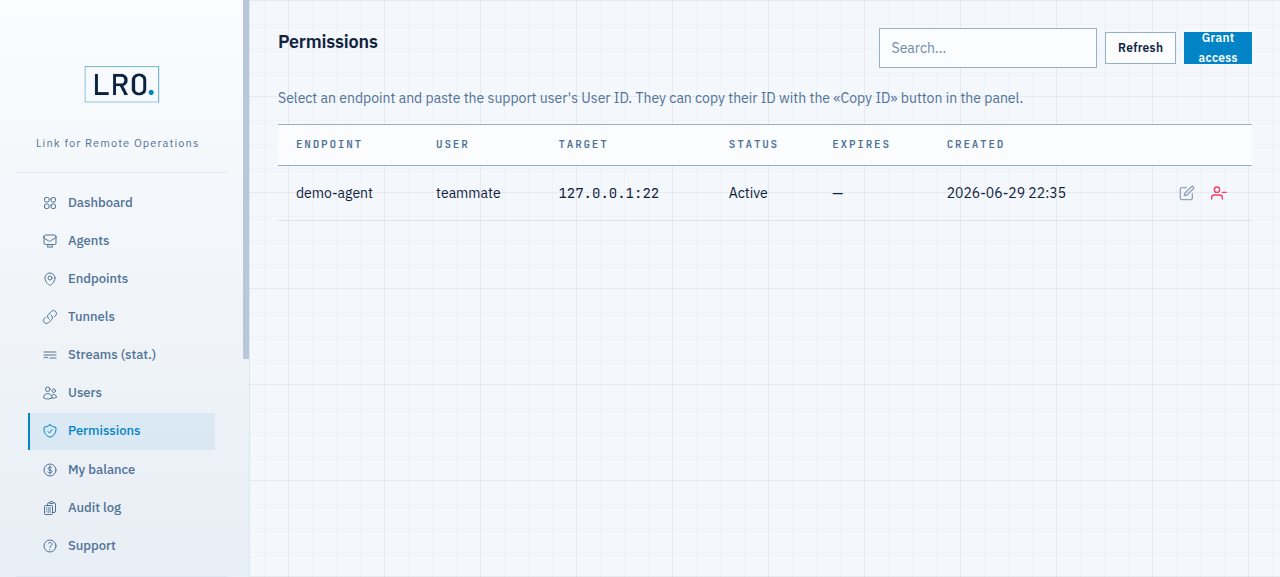
Fig 3. One active grant: this user, this endpoint — and only this one. -
Verify what the teammate sees
Signed in as the teammate, the Endpoints page has two lists: My endpoints (their own — none here) and Available to me (what they were granted). Only the endpoint you shared appears; the others are not just hidden, they are never sent to that client.

Fig 4. The member sees exactly one endpoint under “Available to me” — the one that was granted, and nothing else. From here the teammate opens a tunnel to that endpoint exactly as in your first tunnel — their machine is the support side, the granted endpoint is the target.
Notes
- Least privilege — grant one endpoint at a time; there is no “all access” shortcut for members by design.
- Time-boxed access — use an expiry for contractors or one-off jobs; the grant deactivates itself.
- Accountability — permission changes, tunnels and member changes all land in the org Audit log with the actor and IP.
- Enforced on the server — visibility and access filters run in the backend, not the UI. Hiding a button is never the boundary; the grant is.
Give your team exactly the access they need — and nothing more.
Create an account →